
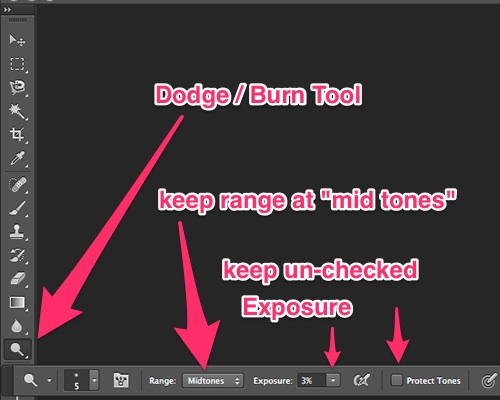
Photoshop: Tool - Burn / Dodge
Understanding the Burn and Dodge (BD) tool.
In its most basic form, the tool references old-school black and white dark room techniques. Burn is used to darken a portion of the image, and Dodge is used to lighten a portion of the image.
For efficiency sake, the BD tool is far surpassed by other photoshop tools such as a curve adjustment layer used to selectively darken or lighten an area of the image.
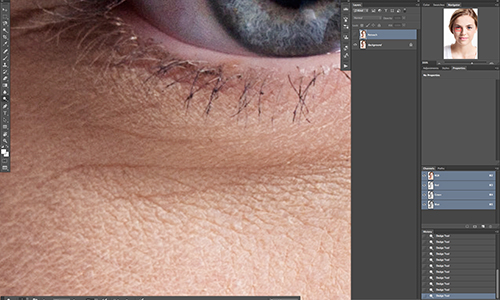
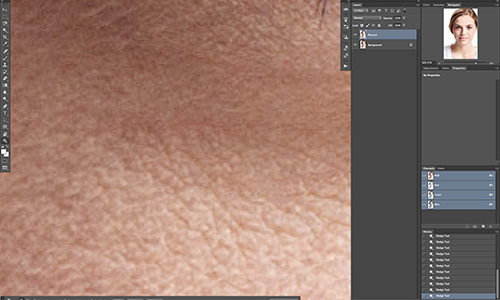
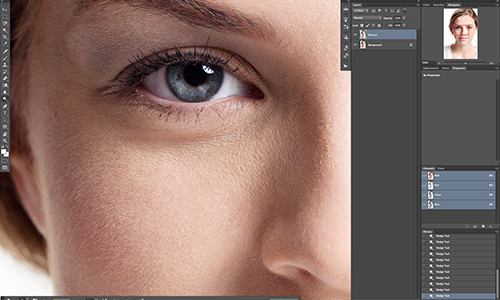
The BD tool’s strength comes from its use in micro adjustments. You can control the “Exposure” of the Burn or Dodge function and ever so slightly lighten or darken a select group of pixels. In our field we find that the tool is most useful when we need to even out some texture, but keep the texture: i.e. the highlights and shadows that make up the landscape of the skin. Skin looks like skin when photographed because it is a mountain range of peeks and valleys that light cascades across giving the appears of texture. A case in which that landscape needs evening might be when a particular wrinkle is prominent. If one zooms far into the image and uses the dodge tool ever so gently upon the shadows that create the valley of the wrinkle at an exposure of maybe 3% gently over and over again, one can start to lighten that valley to the point where it no longer appears as a prominent wrinkle, and the reverse can be said for the peek of that wrinkle. The BD tool can be set to Burn and used to gently darken the highlight of the peek of the wrinkle.
This BD technique is far superior to evening out skin and other elements over using the clone stamp because this technique will preserve texture while a clone or healing technique will create a soft blurry effect.
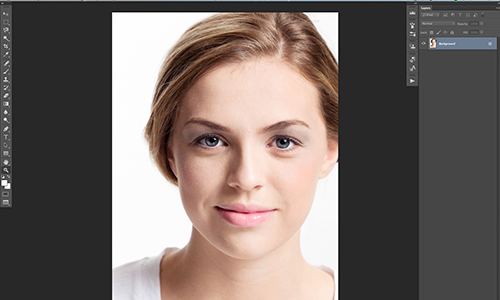

BEFORE
AFTER


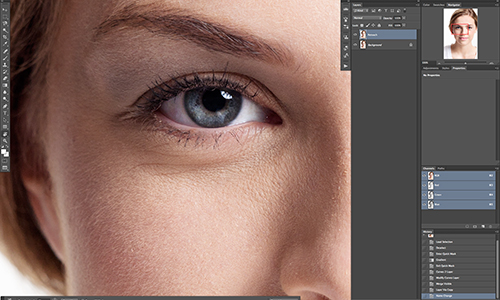
BEFORE

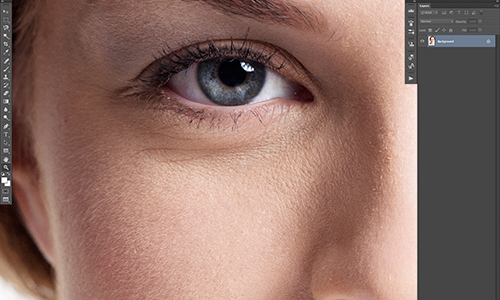
AFTER
- Jeremiah Dart