
Photoshop Trick: Better Masks with Quick Mask
We spend a lot of time here at HOUSE masking things, and if you too have spent any time masking, you will know there are good masks and bad masks.
A good mask has nice soft edges that correspond to the “sharpness” of the edge of the subject that you are attempting to mask.
A bad mask has hard edges that make your subject look “cut out”.
If you’ve been using the path tool to mask, its time to stop, and time to start using quick mask.
So, how to go about it? First hit the “Q” key to activate quick mask. (please see my post on quick mask to understand how quick mask works : http://housetribeca.tumblr.com/post/31921356997/photoshop-tip-selections-via-quick-mask)
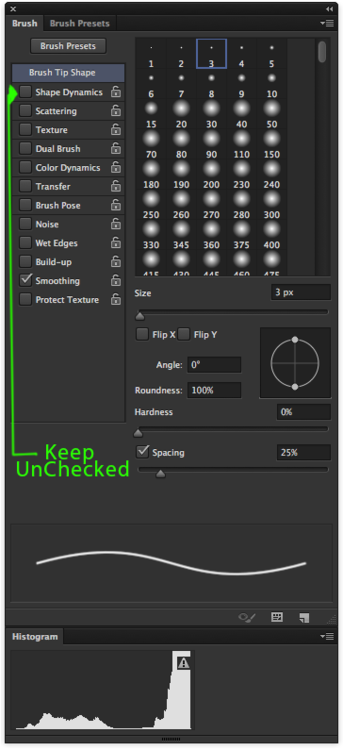
Now pick a small brush size, I usually use 3 pixels wide, but it depends upon the resolution of your image. You may need a larger brush or smaller brush.
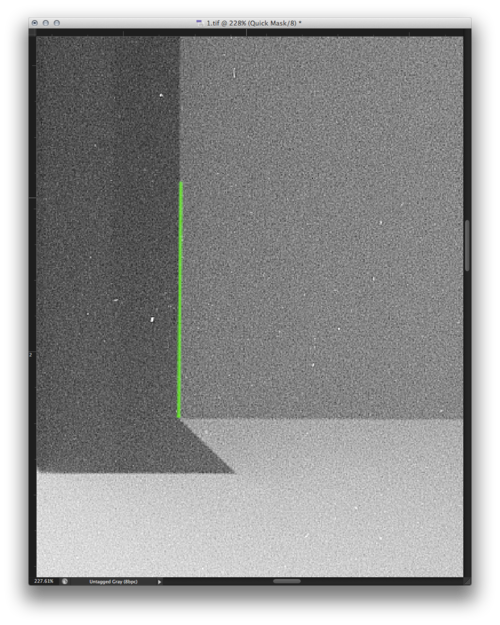
Find the edge of the subject you wish to mask, and click on the inside edge of the subject.
Now before you progress, this is very important. You want to make sure that you turn shape dynamics turned off in your brush panel. (See screen shot.)
You are now ready to progress with your mask.
Hold down shift, and click once slightly further along the subject’s edge, and notice that you have a straight line between the two points. Continue to hold shift, and click again further down the edge. You line will extend. Continue to do this until you have progressed around the entire subject, taking care to have absolutely no gaps. (See screen shots.)
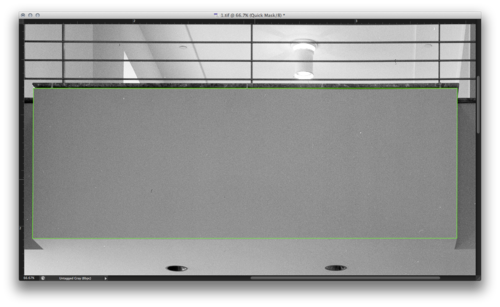
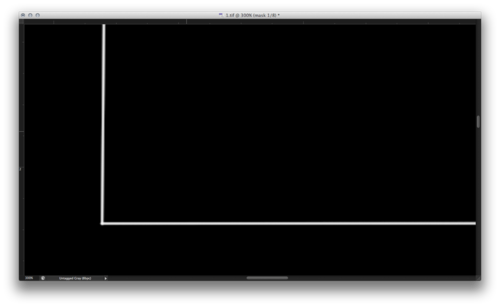
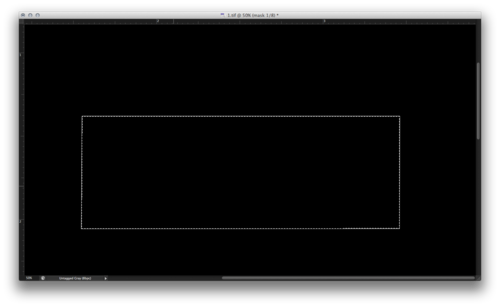
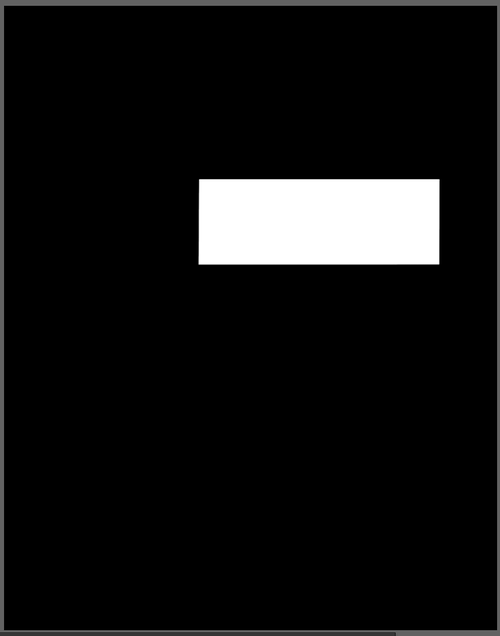
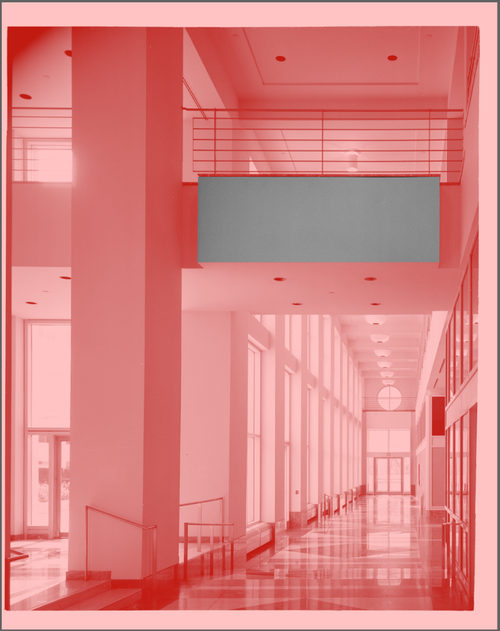
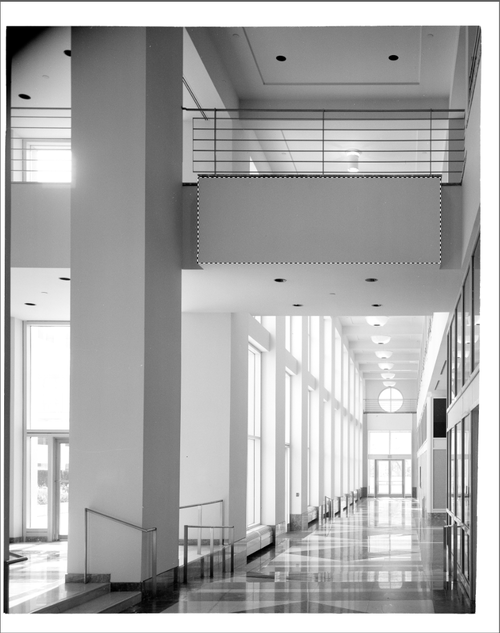
Below is the entire plane of this wall outlined with a 3px brush using quick mask
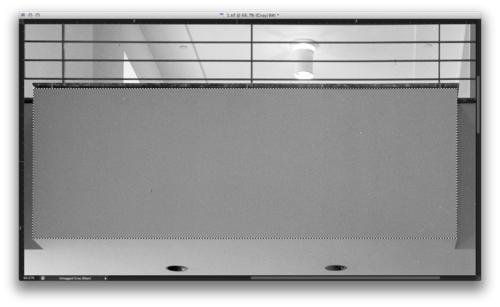
exit Quick Mask by hitting the letter “Q” again. Notice that your mask outline turns into marching ants.
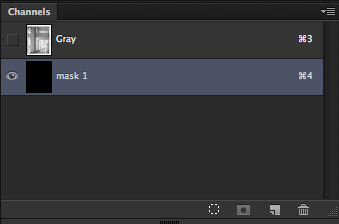
Now, we must save our selection.
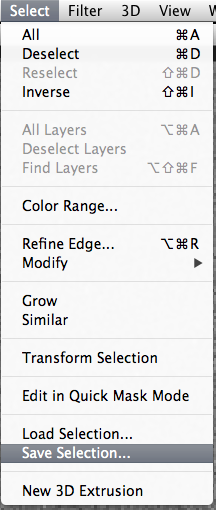
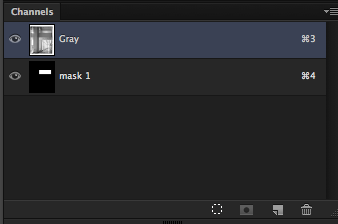
Give it a name and make sure that you are “creating a new channel.
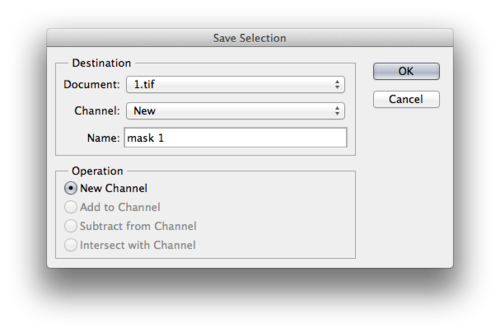
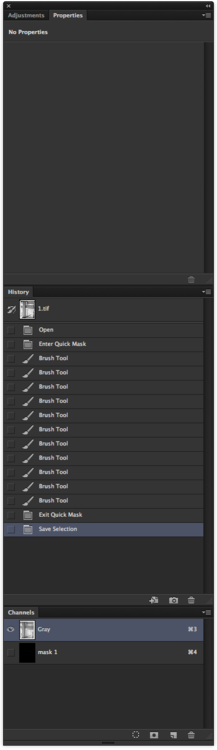
Notice that in your channel’s panel you now have a new channel. In this case the new channel is called Mask1.
Deselect your selection.
Click the "eye ball” next to your new channel and unclick the eye ball next to your other channels (note: my image is grayscale, but yours may be RGB and would have a Red Green and Blue channel)
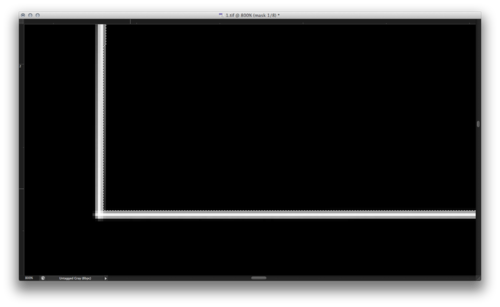
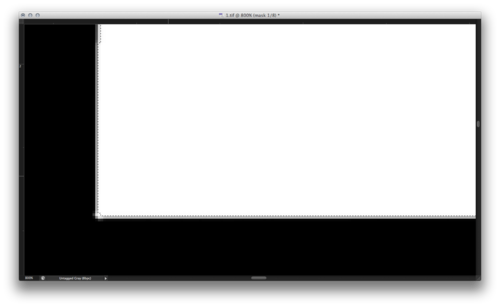
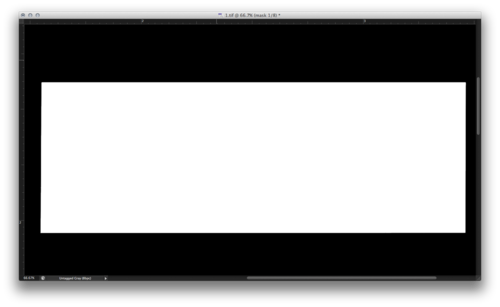
In your document window you will now see a white line, on a black field that represents the selection that we just saved.
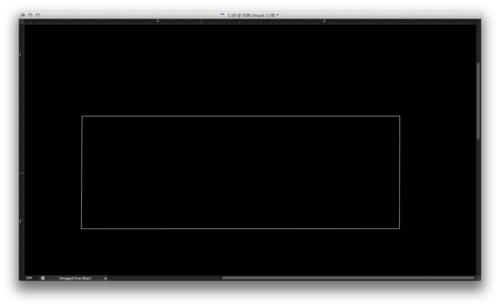
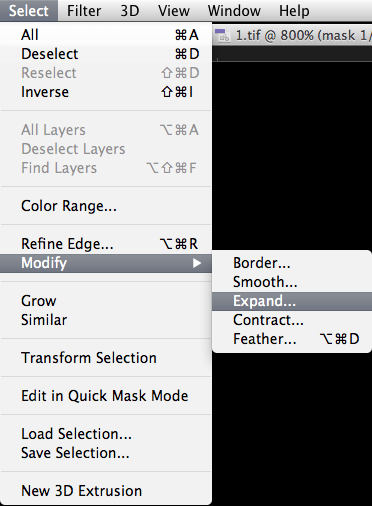
We will swap to the magic wand, but make sure that “Contiguous” is checked on in the magic wand menu.


you will now have marching ants on the inside of your edge outline.
Notice that the marching ants stop right at the inside edge of the outline. To have a correct mask, we must expand our selection to the middle of our edge outline.
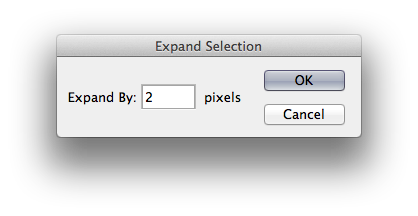
Notice that the selection has expanded near the outside edge of the outline.

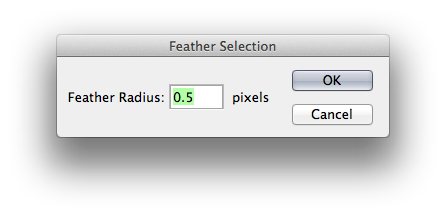
Lets feather the selection slightly.
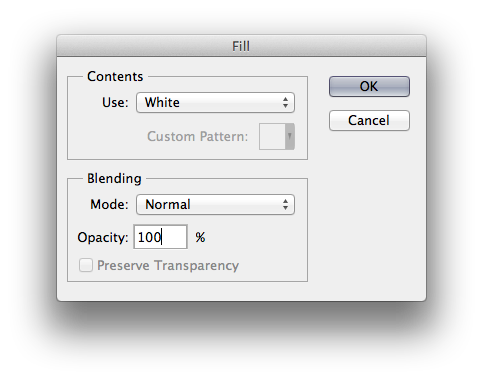
Now we must fill the selection with white to complete the mask.
Deselect.
Zoom out.
Go to your Channels Panel, and click the “eye ball” next to your image channels. If RGB, make sure you activate the visibility of all three channels.
Notice your mask.
You can then turn the visibility off on your mask channel, and then, hold Command, and click the icon of the mask on the channels panel. Your mask will have been activated, and you can now use it to adjust your image in anyway you wish.
enjoy,
- jeremiah