PHOTOSHOP: TUTORIAL: Selections, Alpha Channels, and Transparency
Alpha Channels and Saving Selections:
An alpha channel is 2D information that distinguishes points of transparency based upon the pixel dimensions of a 2D image. An alpha channel is used in practical purposes to accomplish a composite of either color, tonal or pixel texture.
The real power of photoshop manifests when the use of layers is incorporated. What a layer allows the user to do, is to stack multiple images and or adjustments while using different degrees of transparency to create an overall effect or to a specific area which could not be accomplished when altering the image as a whole. Even a basic lasso selection incorporates the concept of transparency because it distinguishes where an alteration will take place, and where the borders of that alteration stop.
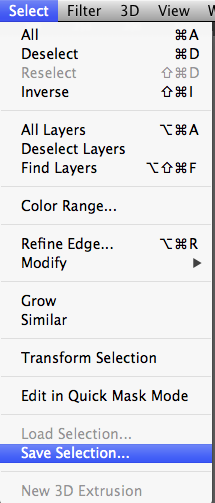
To further understand an alpha channel, let us create a lasso selection and then save the selection (call it squiggle or circle or box, etc). When you save a selection, it notifies you that you will be creating a new channel (please read about channels in my post here: http://housetribeca.tumblr.com/post/82410168570/photoshop-tutorial-explaining-photoshop-channels ). Examine your Channel’s panel and notice the new channel which appears below the Blue channel. That new Channel represents the exact shape that your selection created. If you used any auto feathering you will notice that the shape has soft edges.
The shape that you created and then saved is now called an alpha channel (make sure you De-Select your selection before doing anything else to your image). That alpha channel translates selection information to the viewer by displaying pixels which are 100% selected in pure white, pixels which are 100% NOT selected in pure black, and pixels are partial transparency in shades of gray. If your lasso selection had auto feather set, you will have shades of gray around the edges of your shape rather than a hard black/white edge.
This selection information, or alpha channel can then be utilized by command clicking the black and white rectangle icon of the channel. This selection can also be “loaded” by going to Select>Load Selection, and choosing the name of the alpha channel from the drop down list.
So in short, an Alpha Channel distinguishes transparency, and in practice is usually associated with selection information.
White = 100% selected
Black = 0% selected
Grays = 1% - 99% selected